The MicroObservatory Robotic Telescope Network, operated by the Harvard-Smithsonian Center for Astrophysics OWN “Observing With NASA” program allows free, public access use of 6″ reflecting telescopes located at the Whipple Observatory in Amado, Arizona. If you are a teacher interested in introducing astronomy in a hands-on way, a parent wanting to show kids that they can also take astrophotos, or just interested in experiencing with Internet-based remote observatories, making use of this free system is well worth a try. This system has been in use for over a decade and is a lot of fun.
The network can be reached at: http://mo-www.cfa.harvard.edu/MicroObservatory/
Guest users can select from a pre-set menu of target objects. In December 2013 I tried shooting images of several deep space targets over successive nights. The 6″ reflectors (identified as Ed, Ben and Cecilia, Donald) are programmed with a simple web form. Once images are captured, users are sent an email message with instructions on how to retrieve the files. The files are all returned as 650 x 500 FITS files. The network also supplies MicroObservatoryImage, a free program based on Java that processes FITS files, including stacking RGB images, optimised for the small images the system produces.
The web site is well worth exploring, as there are several resources there of interest to teachers, especially.
Here are three images I captured with this system in December 2013. The images I was able to capture did suffer from several artifacts, including diffraction spikes, and “blooms” produced by very bright stars.
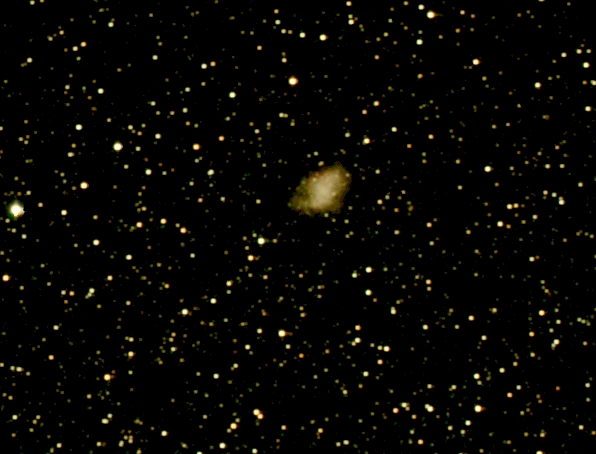
The Cab Nebula (Messier 1) imaged with one of the educational telescopes of the
MicroObservatory Robotic Telescope Network. Three images were taken, one each through a red, green, and blue filter, and then they were combined with the MicroObseervatoryImage software supplied by the network.
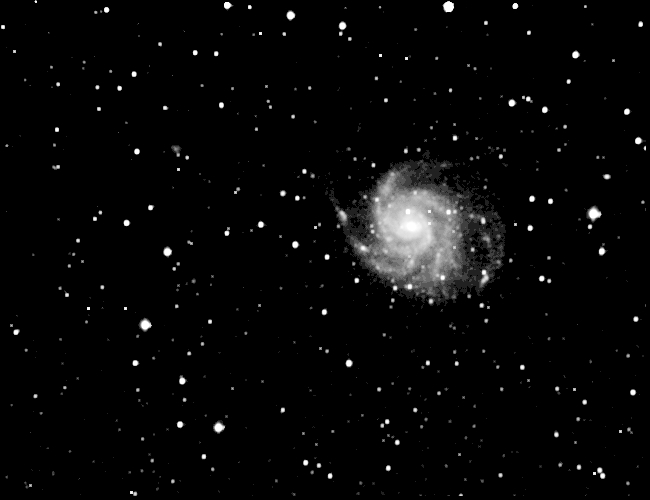
NGC5457, Messier 101, imaged with the MicroObservatory Robotic Telescope Network. This was taken as a single 60 second exposure, taken at 5:37 AM local time on 31 December 2013. The area imaged is approximately one degree of arc across.
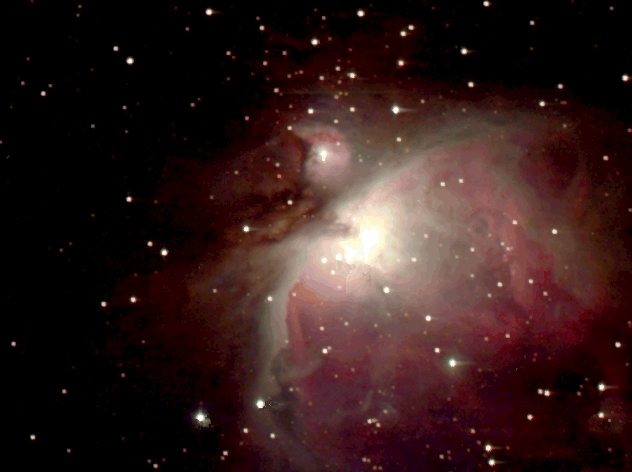
The Great Nebula in Orion (M42) imaged in three colours using the MicroObservatory system. The colour image was assembled as described above for the image of the Crab Nebula. This image is slightly retouched to reduce artefacts created by both diffraction effects (spikes) and also “blooms” or smears produced by very bright stars.
Copyright © 2014 David Allan Galbraith


